
Epoxy Floor Installation: What to Expect
An epoxy installation unfolds as linked steps, each relying on the one before it. The inspection shapes the prep plan, the prep governs how firmly the coating bonds, and the way curing is managed influences how the floor performs in real use.

The Short Answer
The process runs through five stages: assessing the slab, grinding and cleaning it, fixing visible damage, applying each coating layer in its proper order, then curing. Timing depends on floor size and condition, preparation and the coating system, and your installer should explain the schedule before work begins.
What Happens During Professional Epoxy Floor Installation?
The five stages run in a set order, with each one laying the groundwork for what follows.
01
Evaluate the Concrete
It starts with your installer looking at the slab up close. Moisture testing, checks for previous sealers or coatings and a careful surface review together show what the floor is really like, and that information guides the coating recommendation and how much preparation is needed.
02
Prepare the Surface
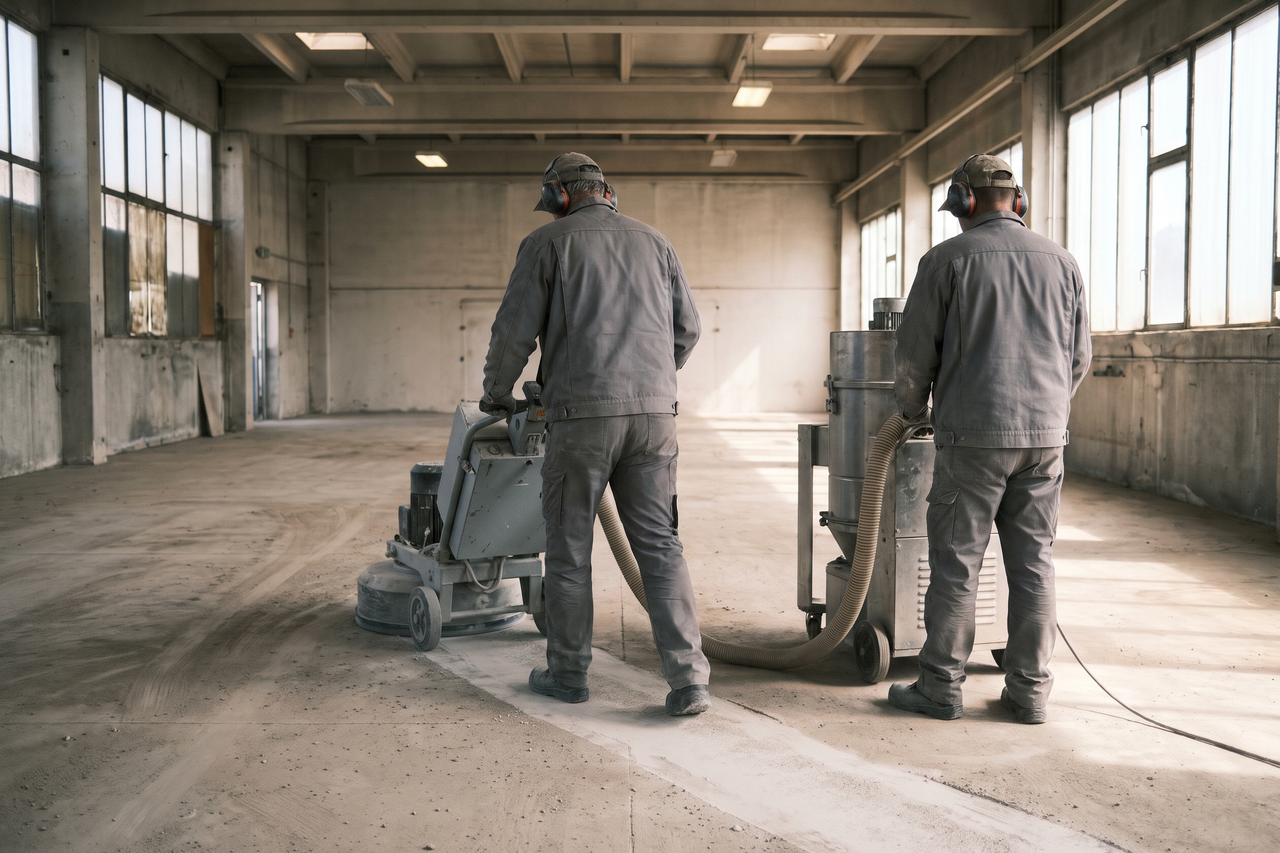
Epoxy grips best on concrete that has been mechanically roughened. Shot blasting or diamond grinding takes off the hard, smooth top layer and leaves the profile the coating needs. How much work this takes depends on the slab’s history, any coatings already on it and the contaminants present.
03
Repair Cracks and Defects
With the concrete exposed, cracks, spalls and other defects are addressed. Making repairs before coating means each flaw is fully visible and can be evaluated and fixed appropriately.
04
Apply the Coating System
The layers are applied in the order the manufacturer specifies: primer, base coat, an optional decorative flake broadcast and finally the topcoat. Each one is allowed to reach the right stage of set before the next goes on.
05
Allow the Floor to Cure
After the last layer goes on, the floor becomes usable step by step. Walking comes first, then vehicles, and full chemical resistance last. Your installer should explain each milestone before the project starts.
What Makes a Professional Installation Different?
Two floors that seem identical from the doorway can prove quite different under close inspection. One might be holding moisture, carry remnants of an old coating and have cracks that are still moving, while the slab beside it is dry, clean and solid. A professional assessment picks up on those contrasts instead of treating all concrete alike.
When a coating lets go early, there is usually a traceable reason. Preparation is often part of the problem, alongside moisture, coating selection and installation conditions. Giving attention to each of them provides a better foundation for long-term performance.
Whenever you want to talk about your own floor, share what you know about the slab and ask for a customized quote.
Why Concrete Preparation Matters
If you want detail on moisture testing, crack repair and the different grinding methods, and how each is handled in practice, read our concrete prep guide.
The bond between epoxy and concrete is mechanical. Grinding opens up the surface pores, and the coating seeps into that texture and grips. A slab that has been sealed, painted or polished to a smooth finish offers very little for the coating to hold onto, so adhesion on unprepared concrete is weak from the start.
The amount of prep a slab requires comes down to its past. Bare, never-sealed concrete is a far easier starting point than a floor carrying old paint, adhesive residue or multiple layers of sealer. The preparation plan your installer sets follows what the surface reveals rather than a generic standard.
Repairing Cracks and Surface Damage
Repair work takes place while the concrete is fully bare. Removing old coatings and profiling the surface exposes how far cracks and weak spots really extend, so each can be dealt with before primer seals it over and makes it hard to get at.
Cracks are judged one at a time. A hairline crack that is stable calls for a different repair than one that is widening or has an offset edge. A moving crack might need a flexible repair material or a more substantial approach, and your installer should explain how each defect will be handled before going further.
Covering an untreated crack hides the issue rather than resolving it. The coating may begin lifting at the crack’s edges, and a crack that continues to move can eventually telegraph through the new finish. Bare concrete is the stage to fix defects correctly.
Applying the Epoxy Coating System
If you are weighing durability, UV behavior and how each is applied, this epoxy-and-polyaspartic comparison lays out the differences.
When the surface is prepped, the coating system is built up layer by layer. Primer penetrates the profiled slab and forms a solid base for the coats above. Where decorative flake is part of the design, it is broadcast into the wet base coat so the chips embed before the material hardens.
The topcoat takes the everyday abuse: boots, dropped tools, tires and cleaning chemicals. Product, coat count and film build are selected according to what the space demands, so a shop floor that sees loaded carts and frequent chemical cleaning needs a different build than a lightly used residential garage. Temperature and humidity are tracked during application, since both affect how each coat forms and bonds.
How Long Does Epoxy Flooring Take to Cure?
Curious about what moves project pricing? The epoxy floor cost guide explains the roles of size, slab condition and system choice.
Readiness on a newly coated floor arrives in steps, not all at once: people on foot first, vehicles next, full chemical resistance last. Asking too much of it ahead of the proper stage risks scuffs or damage that are tough to fix.
Chemical resistance is complete only after the coating has cross-linked through its entire thickness. The surface can feel solid to the touch before curing is complete, so firmness alone does not mean the floor is fully ready. Timing depends on floor size and condition, preparation and the coating system, and your installer should explain the schedule before work begins.
Frequently Asked Questions
What does inspecting the concrete tell you before the project starts?
The inspection sets the direction for everything else. Moisture tests, notes on any coatings or sealers already present, a review of cracks and an assessment of the existing surface profile together indicate the right system and the preparation required. Skip that information and a recommendation is little more than guesswork.
What can go wrong when surface prep is not done properly?
Coatings rely on the texture that grinding produces. If the profile is too shallow or smooth, or still carries old coating residue, the bond is compromised before the first layer is applied. When a coating peels early, preparation is often part of the problem, alongside moisture, coating selection and installation conditions.
Is it possible to coat over an existing floor coating?
Sometimes, depending on the existing surface. A coating that is firmly bonded, not lifting and compatible with the new product might be coated over once it has been evaluated on site. If it is flaking or delaminating, removal usually comes first. Your installer should look at what is there and explain the options.
When is the floor ready for walking, for vehicles and for chemical exposure?
Before the work starts, your installer should explain each stage: when it is fine to walk on the floor, when vehicles can come back and when full chemical resistance is reached. That sequence depends on floor size and condition, preparation and the coating system.
If the finished coating cracks, does that mean the coating is to blame?
Usually not. When a crack appears in a finished coating, it typically points to movement in the slab below, such as settlement, shifting or expansion tied to moisture, not a fault in the material itself. Have a flooring professional look at it; they can explain the likely cause and say whether a repair is worth doing.
Do site temperature and humidity make a difference?
Yes. Manufacturers set approved temperature and humidity ranges for both application and curing, and going outside them can affect adhesion and how uniformly the coating cures. Your installer should check conditions before starting and keep monitoring them as the work proceeds.
Ready to Upgrade Your Concrete Floor?
Serving Lebanon, MO and surrounding areas. Tell us a little about your concrete and how you use the space to request a customized quote.